If you’re baking sourdough bread, you may already know that scoring is an essential part of the process. But you may be wondering exactly how to score your sourdough loaf, where it needs to go, and when to do it.
Working as a pastry chef, I’ve had several jobs that required baking sourdough bread and rolls. Through this, I learned how and why bread needs to be scored for a beautiful but functional end product.
In this article, you’ll learn the basics of scoring sourdough bread, with explanations of some foundational cuts that you can expand on in time.
In This Article
Why Scoring Matters
While scoring makes bread visually appealing, it also improves the interior texture or “crumb” of your bread. This occurs for two main reasons.
As your sourdough loaf rises and bakes in the oven, it tends to break apart at its weakest point. If you score your loaf, you get to decide where this split happens.
If you don’t score your bread, your sealed-in loaf will miss part of its initial oven spring. This is the primary rise that happens as soon as the dough is placed in a preheated oven.
In addition, an unscored loaf will harden more quickly upon baking than a scored one. All of this leads to a loaf of bread that’s denser, less attractive, and less pleasant to eat.
Sourdough Scoring Basics
When to Score Bread
Scoring is always the final step before your bread goes in the oven. Once your dough has completed its final proof, and your oven is hot and ready to go, it’s time to score.
Tools to Use
When it comes to the tools you’ll need to score your sourdough, you have a few options. What’s most important is that they’re sharp. You won’t want a dull blade sticking to your dough as you score it.
- Lame
A lame (pronounced lahm) is a double-edged razor blade attached to some sort of handle. The handle can be plastic, wood, or metal.
Lames are what professional bread bakers use, making them the top choice for scoring sourdough. They’re easy to hold for both primary and secondary scoring, which you’ll learn about shortly.
That being said, you may not wish to purchase a special tool for scoring, and that’s okay, too. You still have three other options to choose from.
- Razor Blade
A plain razor blade is a solid second choice if you don’t have a lame. Some people find it easier to score with your hand close to the dough, which a razor blade allows.
If you choose this tool, be extra careful since bare razor blades don’t have a handle.
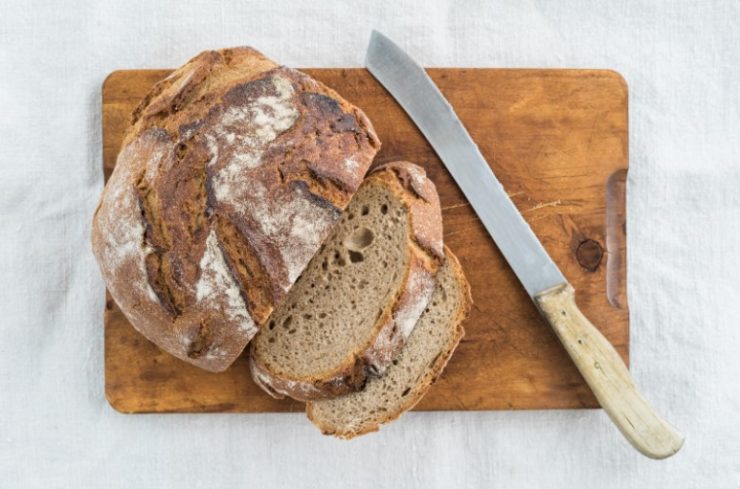
- Sharp Knife
A nice, sharp knife can meet most scoring needs, especially for your primary score.
Make sure you’re using a knife with a straight blade, not serrated. The teeth on a serrated blade will snag the dough as you’re cutting, making quite a mess.
- Kitchen Shears
Kitchen shears, or scissors, aren’t ideal for primary scores. However, they can be perfect for more decorative secondary scores.
The Two Types of Scoring
- Primary Scores: Usually 1-2 long slashes at ½ – 1 inch deep. The primary score is the cut (or cuts) that allow your loaf to rise higher and split open in a controlled manner. It could be one long cut, an X-shaped cut, a square, or an S score.
- Secondary Scores: Shorter and more shallow, usually ¼ – ½ inch deep. These scores are often more decorative and can be highly elaborate. Some example shapes are wheat stalks and chevrons.
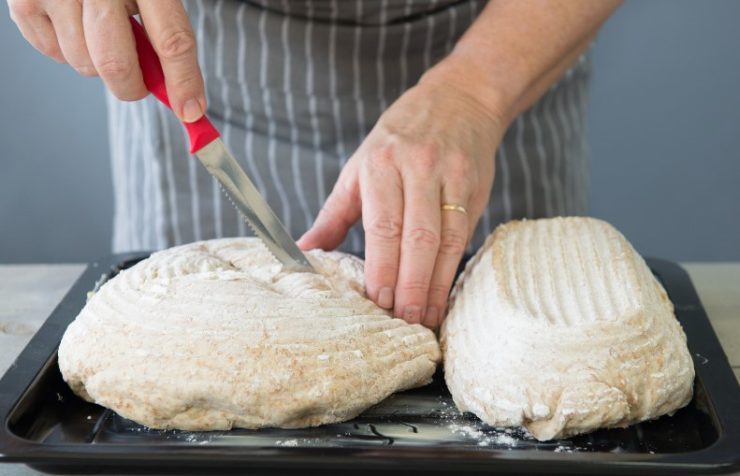
How to Make Your Primary Score
To score properly, it’s helpful to have your dough sitting on a flat surface.
Then, hold your blade at a 30-45 degree angle and lightly puncture the starting point for your primary cut with the tip of your blade.
Next, sweep the blade swiftly toward your finishing point, going no more than 1 inch deep. If you’re only doing one primary cut, that’s all you need to do!
If you’re doing an “X” or square score, it can be helpful to pre-puncture your 4 corner points before scoring. This makes it easier to keep things symmetrical.
It can feel intimidating, but once you’re ready to make your scores, it’s best to make a decisive and swift cutting motion. If you go too slow, your blade will likely get caught and drag rather than make a clean cut.

Pro Tip: To make your scoring designs pop out with added contrast, try this technique. Place a handful of flour in a fine mesh sieve. Just before scoring, dust the loaf lightly with flour. Then make your scores and bake.
How to Make Secondary Score
Secondary scores can add extra visual interest using the same general technique as primary scores.
Remember that you’ll still need to include your primary score to ensure the loaf won’t split open in the middle of your design. And your primary score should always be done first.
When you’re making secondary scores, they’ll be a little more shallow. Cut no more than ½ inch deep. For the best results, use more of a quick flicking motion to do these small cuts effectively.
I’d recommend starting with simple designs like chevrons or wheat stalks. Eventually, you can do leaves, vines, or make your own complex designs.
You might find it helpful to map out your secondary score design ahead of time. For instance, you can try using a piece of string to mark where the center of your wheat stalks will be before you score them.
Pro Tip: To do more intricate designs without sacrificing that crucial primary score, move the primary one closer to the edge of your loaf. Then you’ll have room for your main design in the center.
How to Score Different Loaf Shapes
Here are some suggested primary cuts for 3 common loaf shapes. For secondary cuts, feel free to get creative!
- Oval Loaves (Batards): For this shape, a classic cut is a crescent that follows near one edge of the loaf. You can try an “S” score with this shape, too.
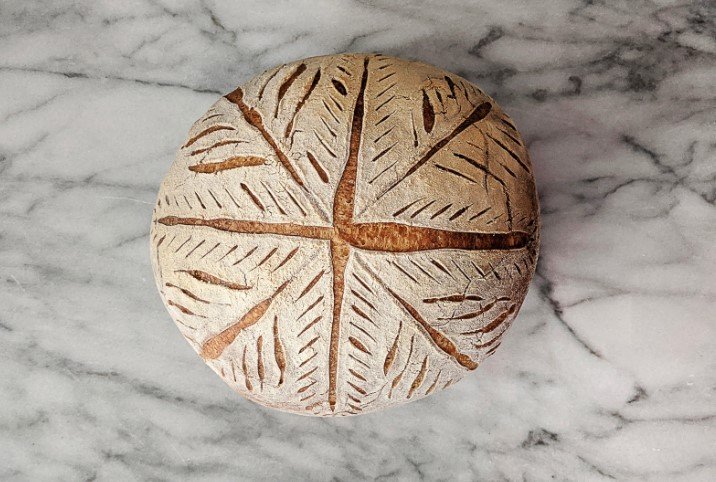
- Circular Loaves (Boules): A square or “X” score is a classic choice for round boules. These are usually made in the center at the top of the loaf.
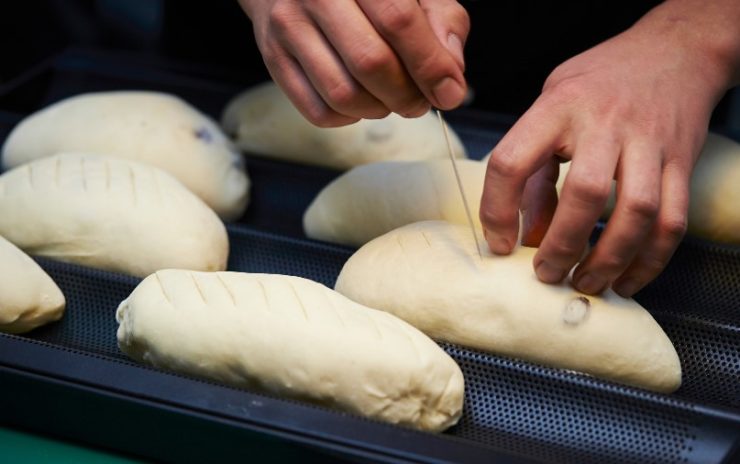
- Baguette: For the baguette, the traditional scoring pattern is a series of diagonal cuts spaced out along the length of the bread.
Final Tips on Scoring Sourdough
Initially, it’s best to focus on getting used to doing primary scores correctly. Getting comfortable with scoring and making your cuts at the right depth might take a little practice.
You won’t want to cut too deeply and end up with an oversized, sharp “ear” on your bread. These can make a loaf difficult to cut, and that crispy edge can even slice your hand open if you’re not careful.
On the other hand, you’ll know your scores were not deep enough if your loaf is dense, doesn’t rise fully, or breaks open in areas that weren’t scored.
The great thing about scoring is that once you learn the basics, the only limit is your imagination. You can score just about anything on sourdough loaves, from bouquets to animals, to elaborate mandalas.
For holidays and special occasions, more elaborate loaves can even serve as centerpieces to wow your guests. Consider dusting them with flour just before scoring to make your unique designs stand out.
If you’re looking for a way to make your sourdough easier to handle, check out my guide on how to autolyse your sourdough.
FAQs
How deep should you score sourdough?
For primary cuts, score ½ to 1 inch deep. For secondary, decorative cuts, score ¼ to ½ inch deep.
How can you score sourdough without a lame?
If you don’t have a lame, you can use a razor blade or a very sharp, straight knife for scoring.
Why does my bread deflate when I score it?
If your bread deflates when scored, you may have let it proof too long. Either that, or you may have scored too deeply into the loaf.