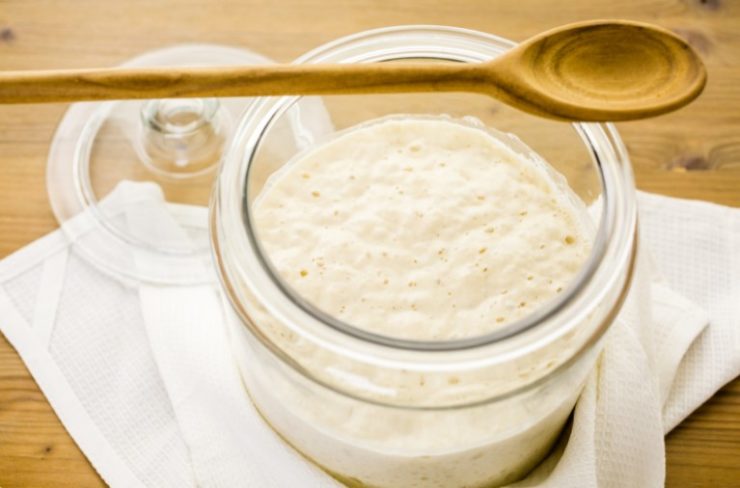
While a sourdough starter is a living thing, it doesn’t have to feel like you’re taking care of a child or a new pet.
It may sound counterintuitive, but there’s really no need to worry about missing a feeding. And you don’t need bags and bags of flour to succeed.
Don’t get me wrong, a sourdough starter is important and can easily become like a member of the family. But, there’s no need for it to dictate your schedule or take up a large amount of time and effort.
With a little bit of planning, you can maintain a healthy starter that won’t inconvenience you at all. You’ll even be able to take baking breaks or go on vacation, all without having to worry about daily feedings and wasted flour.
In This Article
Create A Feeding Schedule
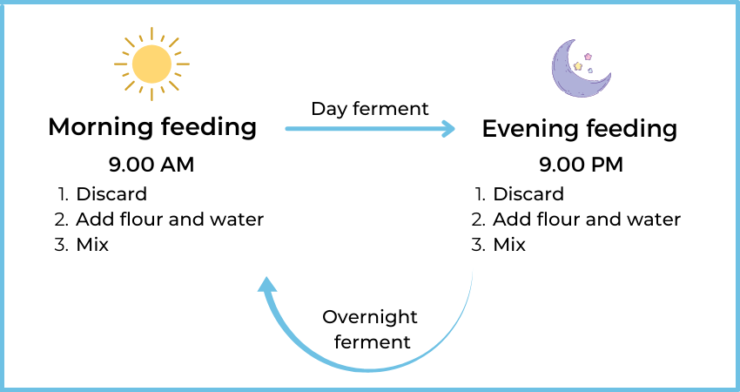
One of the best ways to ensure a successful, healthy, and striving starter is to start with a feeding schedule. And lucky for you, most sourdough starters don’t have much of a social life, so be selfish and plan feeding times that are convenient for you.
If you’re not doing any type of long-term storage, it’s likely that you’ll be feeding your starter once or twice a day.
So pick a time (or two) that will be easy to do every day.
Early in the morning or late at night are both good options since it’s easy to remember and you’re more likely to be home. And maybe avoid a mid-day feeding time since that’s when our schedules tend to be more variable.
It may seem like a lot of work at first, but will quickly become a routine that you don’t have to think twice about. And remember, most starters are flexible, forgiving, and quite resilient. So don’t stress out if you miss your feeding time by an hour or two, or more.
Begin Storing With The End In Mind
You can eliminate a lot of stress by starting with a simple question, “How often will I be baking?”
The way you store your starter will depend on how often you bake. If you’re baking everyday or every few days, you’re probably going to keep your starter out and feed it on a daily basis.
But, if you only bake once a week or less, you can spread out feedings to save time, effort, and precious flour. Here’s how to store your starter depending on how often you bake.
Storing Starter For Daily Use
If you plan on baking every day or at least a couple of times a week, you’re going to want to keep your starter out at room temperature. That generally means daily or twice daily feedings, so that it remains very active and ready to use when you need it.
The Container
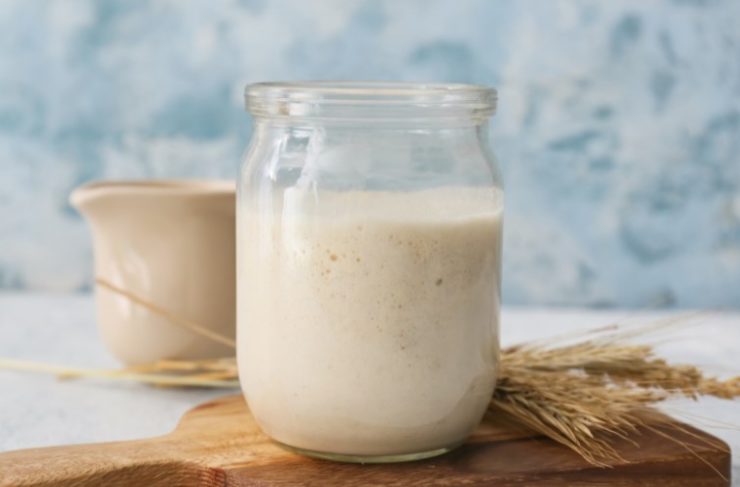
I find a clear glass jar to be the ideal storage container for daily feedings. Any old container will work, but glass jars are your best bet. They’re durable, easy to clean, and won’t hold on to flavors and odors if you use the same jar to hold onions or any particularly fragrant leftovers.
Plus, it’s helpful to be able to see your starter’s activity as it rises and falls during and after feedings.
Mason jars are great and easy to find, but I’ve found Weck canning jars to be the perfect vessel. They have a wide, tapered mouth that makes feeding and mixing especially easy. And the glass lids allow air to escape and they won’t rust like your typical metal canning lids.
The Location
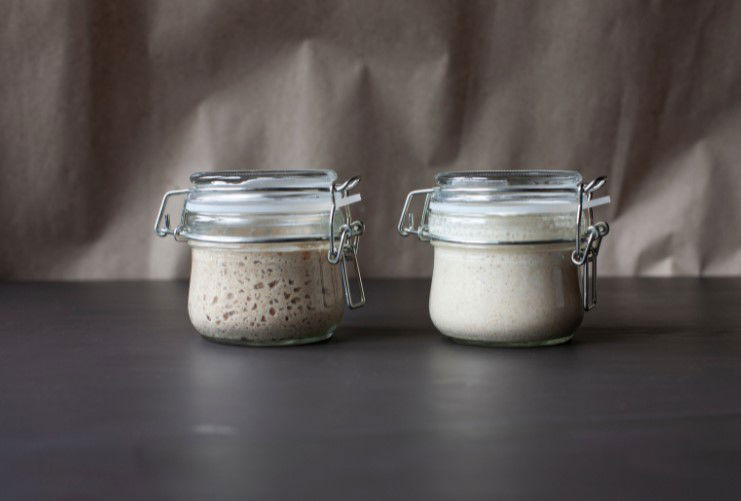
When storing your starter out at room temperature, find a place on your counter that’s not in the way, and isn’t in direct sunlight or close to a fluctuating heat source like a toaster, dishwasher vent, or too close to the stove.
The sun or any hot appliance can raise the temperature of your starter and that will accelerate fermentation. That means your starter will be eating its food faster than you may want it to, which can mess up your feeding schedule or affect the outcome of your bakes.
The Temperature
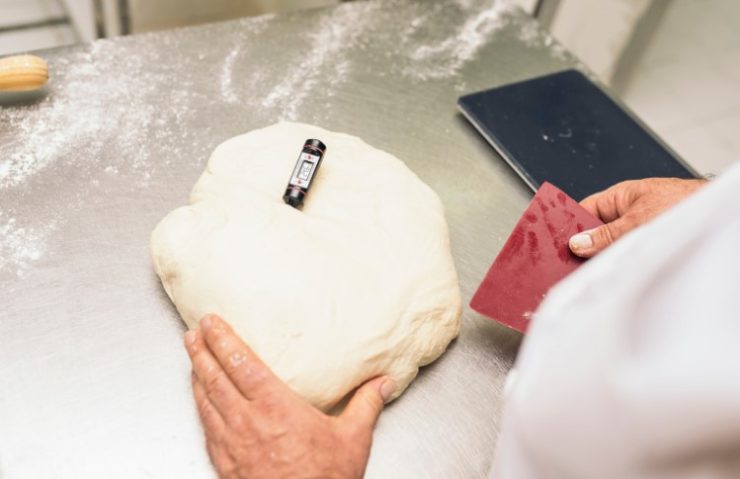
As I just noted, the higher the temperature, the faster fermentation occurs. We all have different preferences for how warm or cold we keep our houses, but finding a spot with a relatively consistent temperature is ideal.
This allows you to get to know your starter and will give you a better idea of what level of hydration to use for feedings and also how soon you need to feed it before a bake. Ultimately, giving you more control and predictability from your starter.
Hydration
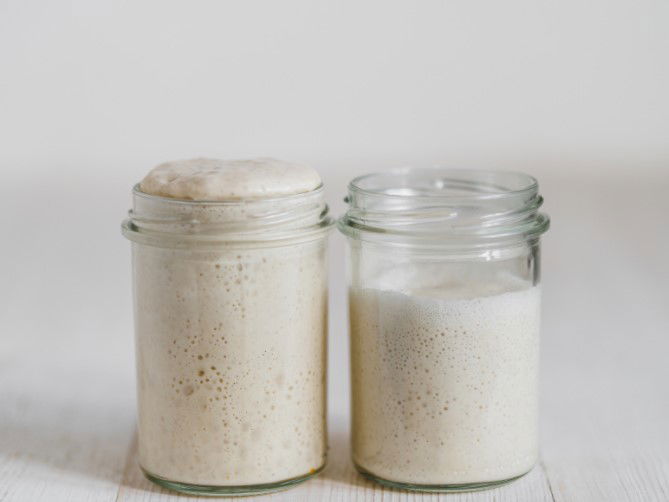
The hydration or how wet your sourdough starter is is another consideration when it comes to storage and feedings. Just as temperature affects fermentation speed, so does hydration.
The wetter, or more hydrated your starter, the faster it will ferment. This is something you can use to your advantage if your house is too hot, too cold, or if you know you might miss a scheduled feeding.
If something comes up and you know your next feeding will be late, you can slow down fermentation by using more flour and less water. You’re essentially providing your starter with a higher percentage of food so that it can go longer between feedings.
The same idea can be used if your house isn’t at an ideal temperature. Lower hydration can be used to slow fermentation in an overly warm house, while higher hydration can speed up fermentation if it’s too cold.
Storing Starter For Weekly Use
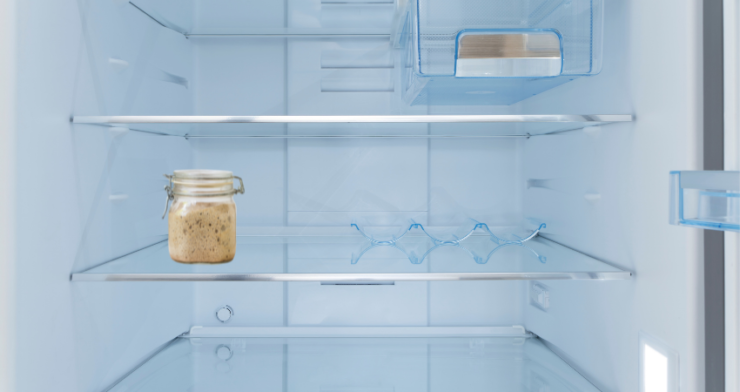
If you’ll only be baking once a week or less, you can spread out feedings so that you’re not going through the whole feeding process, and all the flour involved, on a daily basis.
To do this, we need to slow down fermentation. And the easiest way to do that is to lower the temperature. So, all we need to do is move our jar from the room temperature countertop to the refrigerator.
This drop in temperature will cause your starter to eat much slower. That way we can feed it the same amount as if it were a daily feeding but that food will last an entire week rather than just one day.
So, feed your starter as you normally would (maybe with slightly lower hydration). Give it an hour or two at room temperature for fermentation to get started, then into the fridge it goes. And don’t forget a label, so any unknowing housemates don’t throw it away.
You should repeat this feeding process once a week as long as you won’t be using the starter for baking. Then, when you’re going to bake, take your starter out of the fridge two days ahead of time to revive it.
Reviving
If your starter has been under refrigeration it needs a little extra time to get its strength back before it’s ready to bake with.
Remove your starter from the fridge and let it sit at room temperature for an hour or two. Then feed your starter as you normally would.
Now, keep your starter at room temp and give it two or three regular feedings over the next couple of days you should be back in action and ready to bake.
Long Term Storage
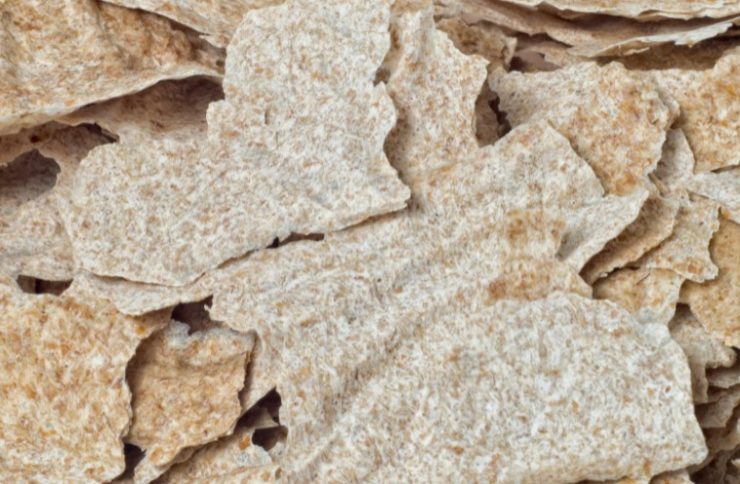
If you’re planning on taking a serious sourdough hiatus or you’d like to travel with or send your starter to friends, there are also long-term storage options available.
This is a topic we’ll dive into deeper on another date, but the goal here is to stop fermentation entirely by completely drying out your starter.
You can do this by mixing it with large amounts of plain, dry flour, or by spreading out your starter and dehydrating it. These dried starters can be stored for months and even years so you never have to start over from scratch.
Final Thoughts
It’s easy to dote on and obsess over your starter, I do it all the time. But, I hope to have highlighted some planning and storage strategies that make it a little less stressful, time-consuming, and wasteful.
And once your starter transforms from a glob of dough to a beautiful crusty loaf, be sure to follow these steps to store and keep your sourdough as fresh as possible.
Frequently Asked Questions
How Should You Store Sourdough Starter Long-Term?
Sourdough starter can be stored in the refrigerator if you’ll be baking once a week or less. Or you can dehydrate your starter and store it for months or even years.
Should My Sourdough Starter Be In An Airtight Container?
A sourdough starter does not need to be stored in an airtight container. A loose-fitting or breathable lid is best so that gasses can escape and air can enter. When stored under refrigeration, an airtight lid is allowed but not required.
What Kind Of Container Should I Use For My Sourdough Starter?
A clear glass container is best for storing a sourdough starter. This allows you to monitor the activity of your starter and is easy to clean and sanitize.
