A sourdough starter can quickly go from a casual hobby to a permanent member of the family. And they take time, energy, and effort to maintain. But, sooner or later, there may come a point when you need to take a sourdough sabbatical.
It’s nothing personal, but I just don’t want to bring a bag of flour and a scale with me on my extended road trip this summer. And I don’t know how my wife would feel if I brought a third party on our romantic getaway.
Luckily, dehydrating your sourdough starter is an easy solution. It works well whether you need to store it for a few months or a few years.
In This Article
Why Dehydrate Sourdough Starter In The First Place?
In essence, drying out your starter puts all activity on hold.
All of the good bacteria and yeast that you’ve developed are being put into suspended animation. Ready to be re-activated at your convenience.
There are a lot of different reasons to dehydrate a sourdough starter. No matter your reason, this is the best way to keep a starter without the need for any upkeep or maintenance.
Everyone Needs A Break Sometime
Most sourdough routines will eventually conflict with a vacation, work, or family emergency.
Perhaps the most common reason to dehydrate a starter is that the owner simply needs a break from the burden of daily or weekly feedings. It’s totally normal to lose enthusiasm here and there.
At the same time, when life happens, it would be a shame to see all of your hard work land in the trash.
Travel With Your Starter
Dehydrating is also the perfect way for a starter to travel.
Yes, you can bring your starter with you when you move. Or if you want to do some light baking while on holiday.
For the most enthusiastic, it’s even possible to share your specific starter with friends and family around the world.
Sourdough Insurance
By drying out your starter, you’re making it shelf-stable.
That means it can sit in a cupboard, untouched for years. And when you need it, it can be revived and ready to bake within just a few days.
Even if you continue to bake every day or every week, having a dehydrated backup sourdough starter is excellent insurance. That way, when your significant other throws out the “goop on the counter” that you forgot to label, you don’t have to start dating again.
When Dehydrating Isn’t The Best Option
Having a dehydrated starter as a backup is never a bad idea. But, this method probably doesn’t make much sense as a weekly or monthly storage technique.
While the process isn’t complicated, it does take a couple of days upfront, plus a couple more once you’re ready to revive and get back to baking.
If you’re looking for a more short-term solution, there are better storage alternatives that will get you away from daily feedings.
How To Dehydrate Sourdough Starter

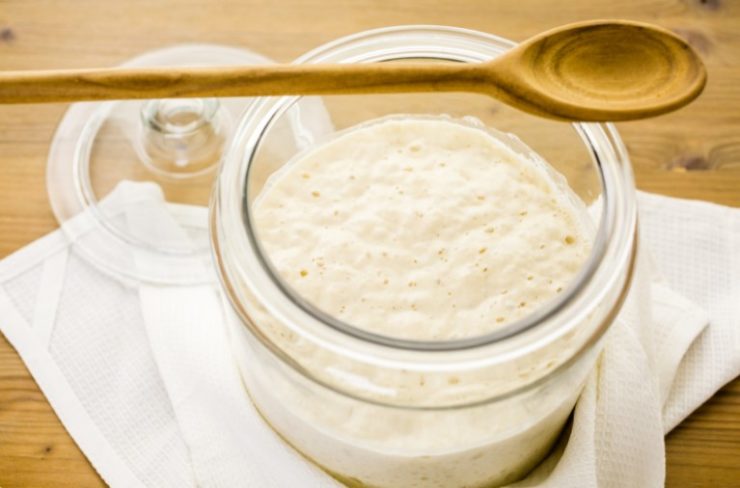
For the very best results, you want your starter to be healthy, active, and concentrated when you begin this process.
If you’ve just fed your starter minutes before you begin, it will be diluted. You won’t have much yeast and bacteria present to save.
On the other hand, if you haven’t fed your starter for 24 hours, your starter will be weak. Much of the yeast and bacteria will already be on their way out.
The ideal time to start the dehydration process is when your starter is or is close to doubling in size after being fed.
At that point, the yeast and bacteria will be happily eating and multiplying.
This should give you a higher concentration of yeast to put into hibernation. For most people, the best window should occur anywhere from 3-12 hours after being fed.
Gather Your Mise En Place
Mise en place is a French term that translates to “everything in its place.”
It’s a way of life in professional kitchens that tells us to be prepared, organized, and gather everything you’ll need for a project before beginning.
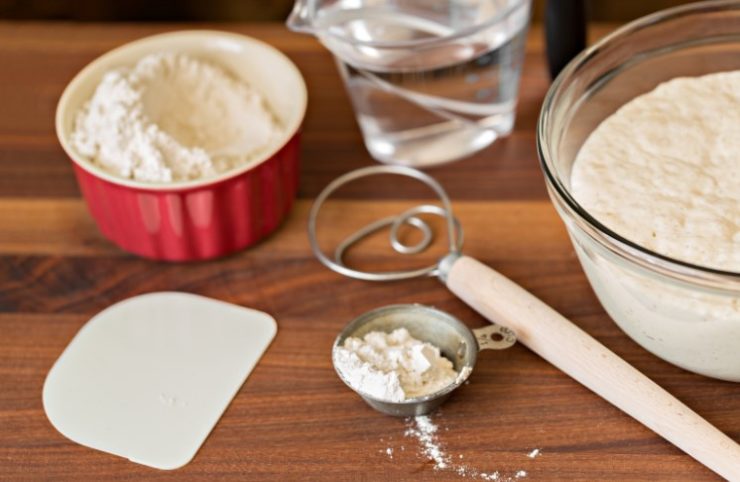
For this project, you’ll need the following:
- A sheet tray. I always go with half or quarter sheet trays at home because they’re more manageable and easily stored.
- Parchment paper or a Silpat that will fit in your sheet tray. Either option works great and will make cleaning up a piece of cake.
- An offset spatula for spreading your starter. This may also change your life when it comes to butter, jam, and any other spreadables, not to mention frosting cakes and other desserts.
- An airtight container for storage. Mason jars are the perfect vessel for long-term storage, but you could also get by with a zip-top bag.
Spread It

Place your parchment or Silpat in your sheet tray and pour your active starter on top.
Use an offset spatula and spread the starter into a single layer that is as thin and even as possible.
Thin is the key in this step. The thinner the layer, the faster it will dry out and the easier it will be when it comes time to revive.
Dry It
Next, simply let your thin layer of starter sit out and dry thoroughly.
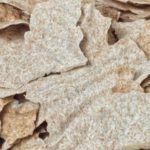
A few factors can speed up or slow down the drying process. But, the starter must be completely dehydrated and brittle before you store it.
If you try to pick a piece up and it bends then it’s not ready. It should easily snap or crumble when handled.
Directly on your countertop is fine for this step. Still, your particular environment will play a role in how long the drying process takes.
If you live in an arid climate, this shouldn’t take more than 24 hours. However, with a bit more humidity, and depending on how thin your starter was spread, it may take several days.
If you’d like to speed things up, try increasing airflow with a fan or by placing your tray in a breezy part of your house.
Heat can also make the process go faster. At the same time, you should use restraint when turning up the temperature. Heat over 120 F will quickly kill yeast, so stay below 100 F.
A proofing box works well for adding more heat, as do some dehydrators. You can also try placing your starter in your oven with only the light turned on to create a warm environment.

If you try to pick a piece drying starter up and it bends then it’s not ready yet. Wait longer. It should easily snap or crumble when handled.
Store It
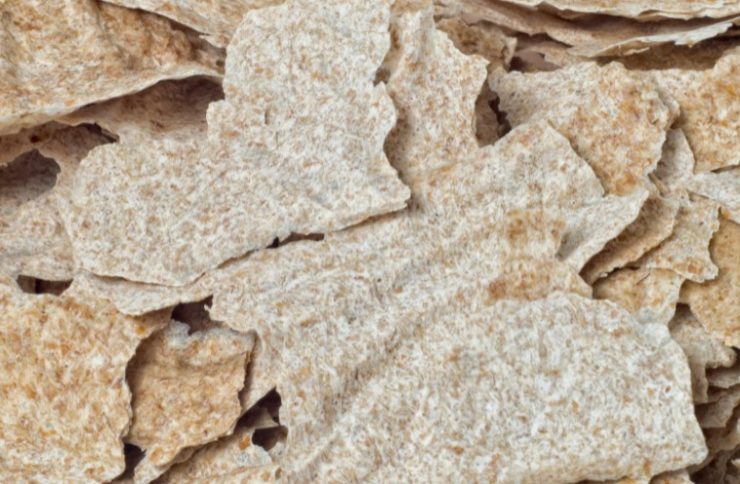
Once your starter is dehydrated and brittle, you can break it into shards and place it in an airtight container for long-term storage or travel.
Alternatively, if you’re tight on space, pulverize the dried starter into a powder so that it can be kept out of the way in a tiny jar.
Then, find a place out of the way that’s relatively cool and dark to keep your starter. The back of a cupboard should be just fine in most cases. Just be sure it’s not directly over your stove or anywhere else that can get really hot.
Stored this way, your starter should keep for years. Just remember to add a label, so no unknowing housemates use it as a spice or throw it in the trash.
Reviving Dehydrated Starter
Reviving a dehydrated sourdough starter is as easy as adding water when you’re ready to get it back into baking shape.
If your starter is in large shards, break them down into small pieces so that it’s easy to submerge them in water.
Add just enough warm water to your jar to cover your dried starter. Give it a quick stir, cover it, then let it sit out at room temperature for an hour.
After about an hour, give it another stir. At this point, it should start resembling your starter from times past, and it will be ready for its first feeding.
Continue to feed your starter about once every 12 hours until it becomes very active and doubles in volume.
And if you need a quick refresher and more detail, we’ve written an in-depth guide to reviving sourdough starter.
Frequently Asked Questions
Does Dried Sourdough Starter Still Work?
Drying is a great way to preserve and store sourdough starter for long periods. Once it’s been revived with water, a dried sourdough starter should work just like it did before being dried.
What Temperature Should I Use To Dehydrate Sourdough Starter?
You can dehydrate your sourdough starter at room temperature all the way up to about 100 F.
Warmer temperatures will make the process faster, but you can damage and kill your starter if you reach 120 F or above.
How Do I Wake Up My Sourdough Starter?
You can wake up your starter by covering it in warm water and soaking it at room temperature for about an hour. After that, you should be able to mix it into an even consistency and then begin feeding it just like you did before it was dehydrated.
How To Dehydrate Sourdough Starter
- Total Time: 72 hours 5 minutes
- Yield: Varies
Description
Learn how to dehydrate your sourdough starter for long-term storage or travel.
Ingredients
- Sourdough starter fed within 12 hours
Instructions
- Line a sheet tray with parchment or a silicone baking mat.
- Pour your active starter on the lined tray and spread it into a very thin and even layer.
- Leave the starter uncovered at room temperature until it is completely dry and brittle, 24-72 hrs.
- Break the dried starter into shards or pulverize it into powder.
- Place in an airtight container and store in a cool dark place for months to years.
Notes
Speed up drying time by increasing airflow with a fan or increasing temperature staying under 100 F.
- Prep Time: 5 minutes
- Drying Time: 72 hours
- Method: Baking
- Cuisine: Sourdough
Keywords: How to dehydrate sourdough Starter, Drying sourdough starter