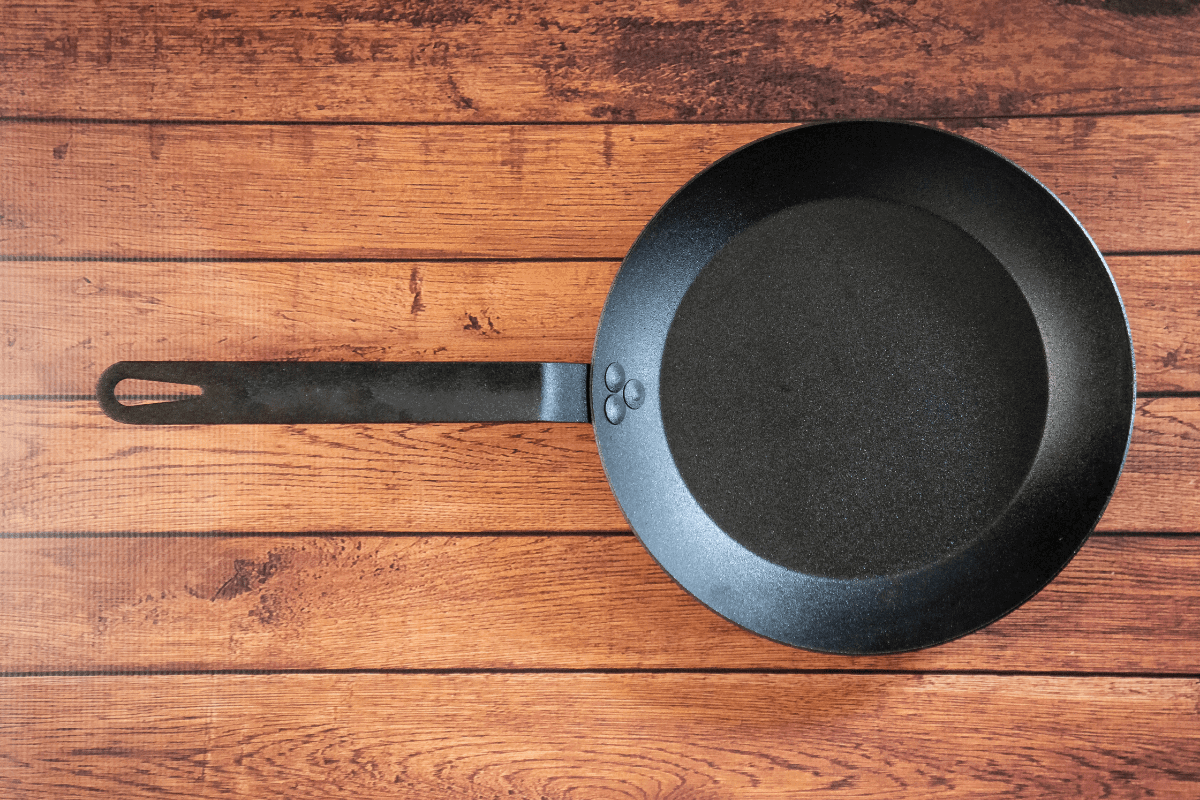
The first stainless steel pan I ever bought was an All-Clad D3 saute pan. I was over the moon and thought I would break it in with a simple bone-in chicken breast. I started it on the stove and finished it in the oven.
When I opened the oven I was horrified. The chicken was cooked beautifully, but my precious new pan had oil splatters permanently browned and hardened around the edges. Or so I thought.
With some frantic research on how to clean stainless steel pans, I was quickly assured that the stuff was built to take a beating. Burns and discoloration are all part of the stainless steel journey, and there’s almost always a way to bring your pans back to life.
Since then I’ve built a strong and lasting relationship with stainless steel cookware. It’s what I learned to use in culinary school, and continued to cook with in every restaurant I’ve ever worked in.
If you think your stainless steel cookware at home is burnt beyond repair, then you’ve likely never worked in a restaurant kitchen. I’ve seen things that would give your pots and pans nightmares, but they’re always able to be cleaned and polished to look like new.
In this article, I’ll share some of the ways stainless steel cookware can become burnt and discolored. But more importantly how it can be cleaned and put back in rotation.
I hope these techniques prove useful in your stainless steel journey, whether you’re just getting started or you’re a seasoned pro.
In This Article
Cleaning Off Burnt Food
Burnt food can be a real tragedy, hopefully, it hasn’t ruined the entire meal, but at least you can rest assured that your pan will be no worse for the wear.
Once you’ve salvaged the edible food you can, scrape out any loose debris and allow the pan to cool slightly. You should always let very hot cookware cool before submerging or pouring a bunch of water into it.
Placing a screaming hot pan into water makes a satisfying sound, but can cause serious damage through thermal shock. The drastic and sudden temperature change can cause the cookware to warp and become permanently misshapen.
The old-fashioned soak:
Now that your pan has cooled down, your first plan of action is to simply soak in hot soapy water. Make sure all burnt food is covered, and after an hour or two give it a scrub with a sponge or plastic dish brush.
When time is of the essence:
If you need to get right back into action and there’s no time to soak, cover the burnt food with water and bring it to a simmer. While simmering, use a spatula to scrape off the burnt food residue. Follow this with your regular soap and sponge scrub and you should be good to go.
How they do it in restaurants:
The not so secret item used in every restaurant dish pit is a scouring pad, or “green scrubbie” as they’re called in the biz. Keep in mind that these are abrasive, and most cookware manufacturers say NOT to use abrasive cleaners.
Green scrubbies will get rid of just about any stuck on or burnt-on food. But, they will also leave fine scratches on your cookware, and can even void your manufacturer’s warranty.
Cleaning Burnt Stainless Steel
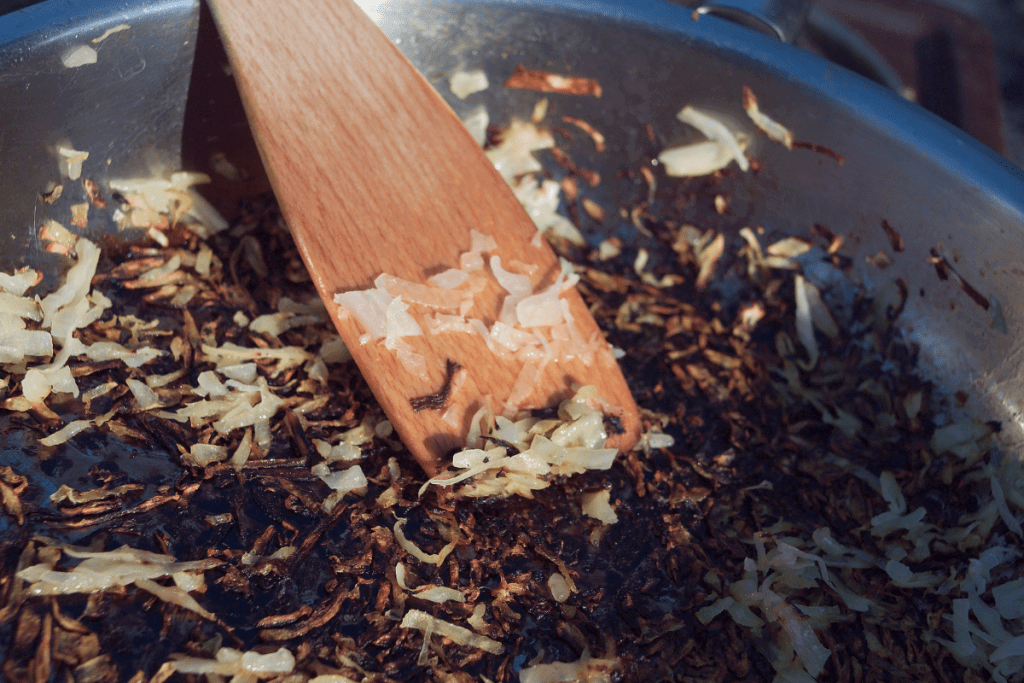
If you’ve gone past just burning the food in your pan and it appears the pan itself is burnt, then you’ve found yourself in scorched pan territory. Fear not, we’ll get through this as well, just get ready to put in a little elbow grease.
Scorching can happen when a pan is heated for too long without enough liquid, oil, or other ingredients. If you’ve ever forgotten about a pot and boiled it completely dry then you know what I’m talking about.
While you may think your pan is permanently ruined, it’s really just a thin layer of material that must be removed before you’re back in business.
Vinegar and water:
To begin with, do a quick boil and scrape as we did for burnt food earlier, but this time use equal parts distilled vinegar and water. This may be all you need and at the very least it will get rid of any pieces of debris and make the upcoming scrubbing steps easier.
Baking soda:
Boiling and scraping will do some of the heavy lifting, but It can be difficult to get in the “corners” or curved parts and sides of a pan.
After you’ve emptied your pan, sprinkle in a good amount of baking soda. Add enough distilled vinegar to form a foamy paste and scrub in a circular motion with a towel or sponge. Follow this with a wash and rinse to get rid of the paste.
These first methods are great because they only require inexpensive household ingredients that are likely already in your pantry.
At this point, your pans should be in pretty good shape. But if you’re still left with some markings here and there, you may need to switch from baking soda to a powdered cleaner like Bar Keepers Friend.
Baking soda is a very gentle abrasive cleaner, and Bar Keepers Friend is a step up from that. They’re both great at removing stains and are gentle enough that they won’t leave scratch marks on your cookware.
A complete pan overhaul:
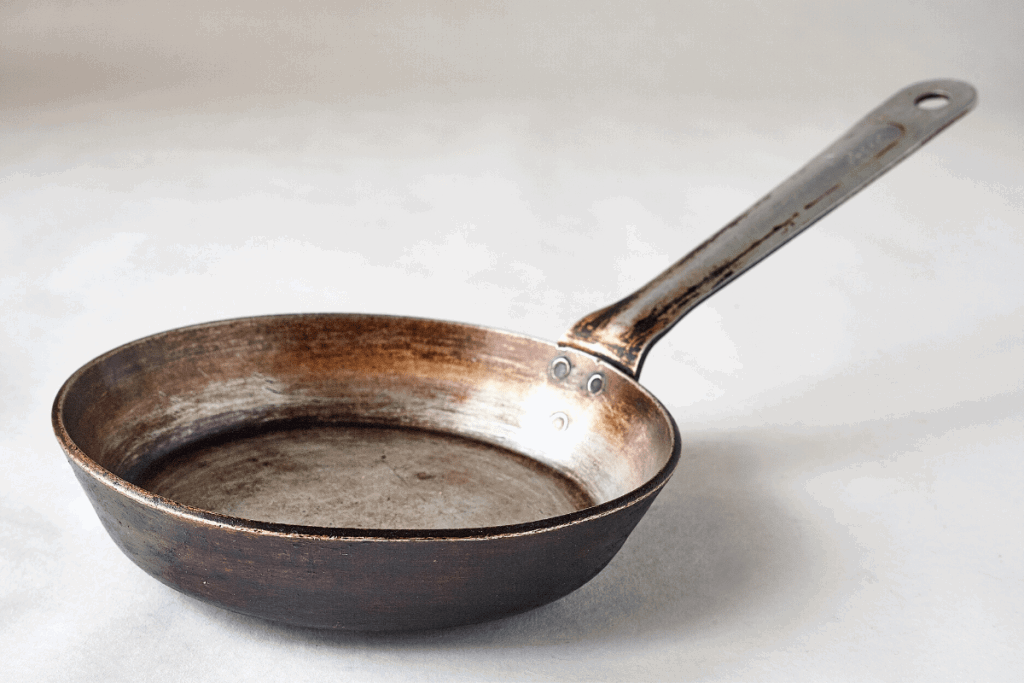
If your pans have been neglected for years or you’ve inherited an old set that needs some TLC, boiling the entire thing will usually get the job done. The great thing about this is that it will take care of any stains and burns on the outside of your pans as well.
If you don’t have a pot big enough to submerge an entire pan with the handle, just leave the handle sticking out. A large, heavy-duty roasting pan is another option if you have one on hand.
Fill your vessel of choice with water and about a half cup of baking soda. Bring this to a boil with your pan submerged and allow to simmer for 30 minutes to an hour. Years of burnt-on oil will be removed in the water, and a good scrub afterward should take care of the rest.
When doing this, be sure to have the proper tools ready to remove and handle the hot pan. Otherwise, you can let the entire pot and pan cool until it’s safe to handle.
Cleaning Discolored Stainless Steel
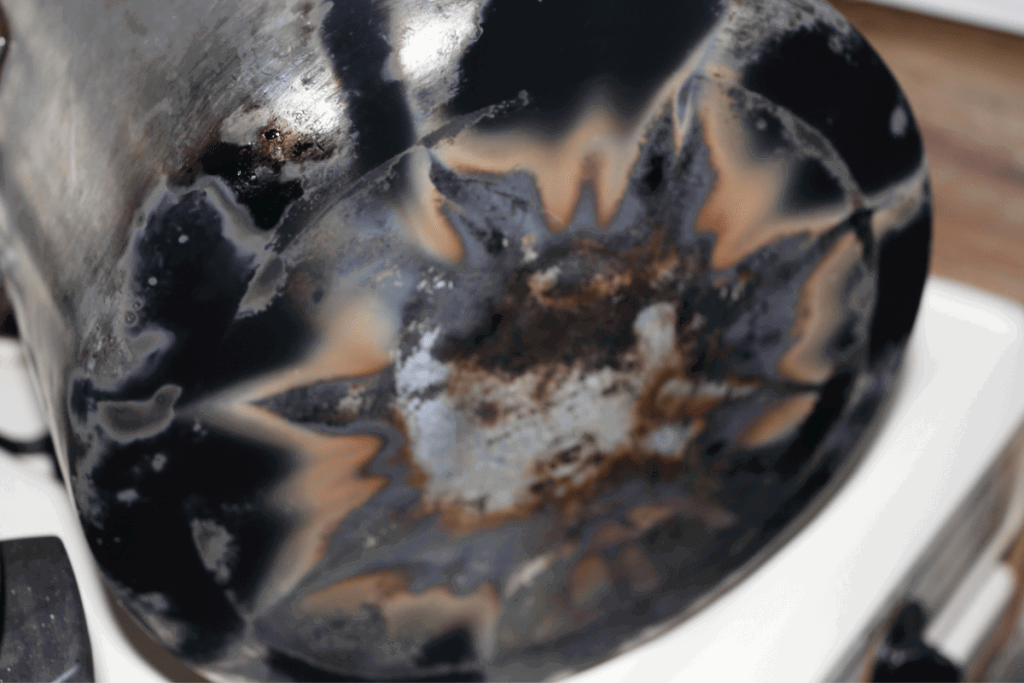
So you’ve followed all the manufacturer’s guidelines for cooking and cleaning, but you still have “rainbow” discolorations or cloudy spots on your pan. This is nothing to worry about and you certainly don’t need to return the cookware.
Getting rid of rainbows:
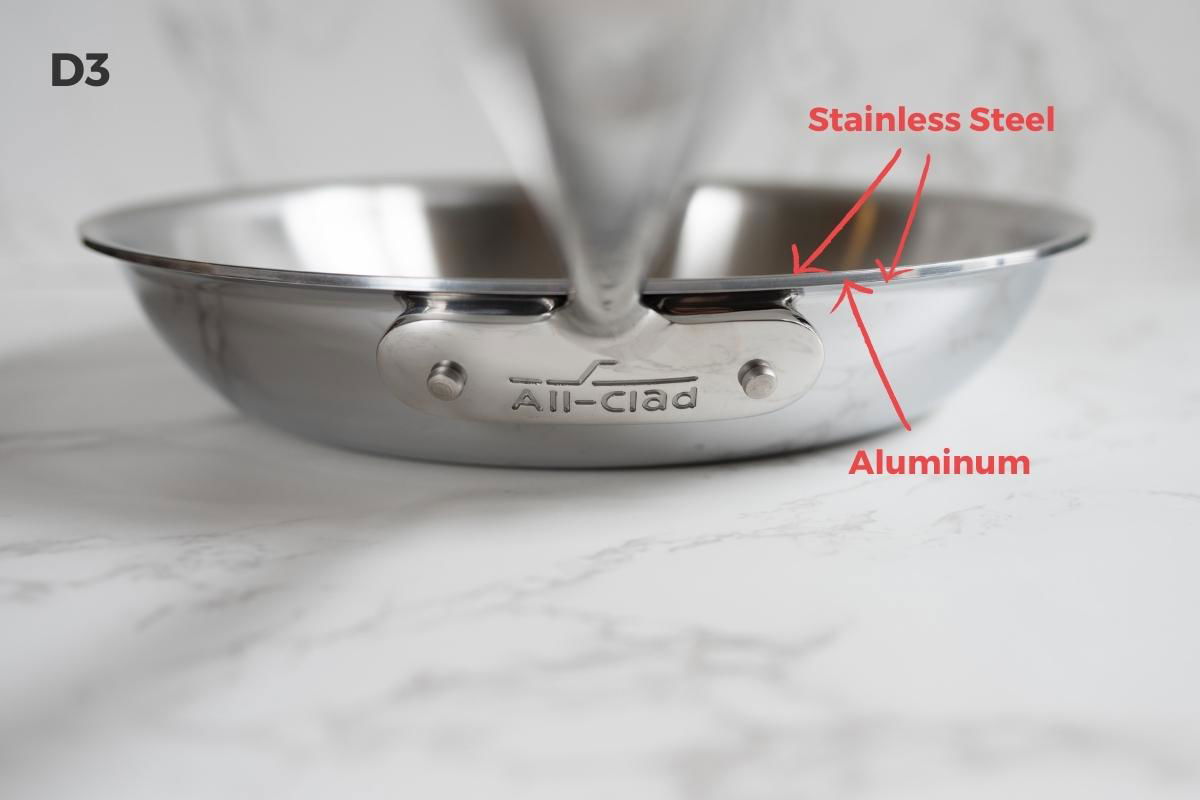
The multicolored rainbow effect that you may see in your clean, dry pan is known as “heat tint”. Stainless steel contains chromium which helps protect against corrosion. The rainbow stain is actually a very thin oxidized protective layer.
If this discoloration doesn’t bother you, just keep on cookin. This type of stain has no effect on cooking performance and there is absolutely no health risk. But getting rid of it couldn’t be easier.
Put a splash of water in your pan followed by a splash of distilled vinegar. Give the pan a gentle scrub with a sponge or towel, then rinse and dry. It’s as simple as that.
Getting rid of cloudy stains:
The cloudy white stains that you may experience are another cosmetic annoyance. These also have no effect on cooking performance or your health.
These stains are made from mineral deposits from your tap water and are particularly common if your home has hard water.
Luckily the solution is just as simple as getting rid of the rainbow discolorations above. Actually, it’s exactly the same. Equal parts vinegar and water rubbed on the affected area is all you need.
For particularly bad stains, bringing the same mixture to a boil before scrubbing and rinsing will do the trick.
Keep in mind that these stains are likely to return as you continue to use your pan. Luckily the fix is quick and as easy every time.
General Care And Regular Cleaning To Keep Shiny Like New
Cleaning your pans thoroughly after every use is the best way to keep them in tip-top shape, and you wanting to show them off to anyone who will look.
While many stainless steel brands are “dishwasher safe”, I stick to hand washing 99% of the time. From the harsh detergents, fluctuating temperatures, and contact with other dishes and utensils, dishwashers can be a dangerous place for cookware.
Cleaning the interior of your pan after cooking is a no brainer, but the exterior, rivets, and handles can easily be neglected. These areas may seem less important, but grease and other debris can quickly build up and burn, becoming more and more difficult to remove.
I shamefully must admit that I put a pan that looked sparkly clean into my oven and when I took it out there were grease marks on the base and sides of the pan. Those stains were not easy to get off, but hey, just part of the journey.
Every once in a while it’s a good practice to take a toothpick to any rivets and especially the area where the handle meets the pan. These are prime hideouts for grease and grime.
Aside from thoroughly cleaning after each use, I always have vinegar, baking soda, and Bar Keepers Friend on hand. Those three ingredients are all you need to bring your pans back from the brink, and keep them looking like new.
Learn To Cook With Stainless Steel To Avoid Burning
Cooking with stainless steel certainly takes some getting used to. Getting to know what the best temperature is, how much oil to use, and when to flip and stir can take time and repetition.
The early days are likely when a lot of burns and scorches take place, but don’t get discouraged. As you get to know the ins and outs of the cookware, you’ll be rewarded with skill and know-how that will serve you for a lifetime.
By following some basic guidelines, you’ll be better prepared to start your journey on the right foot.
Here’s a step by step guide to cooking an individual item like a chicken breast or thigh, rib eye, pork chop, grilled cheese, cauliflower steak, etc.
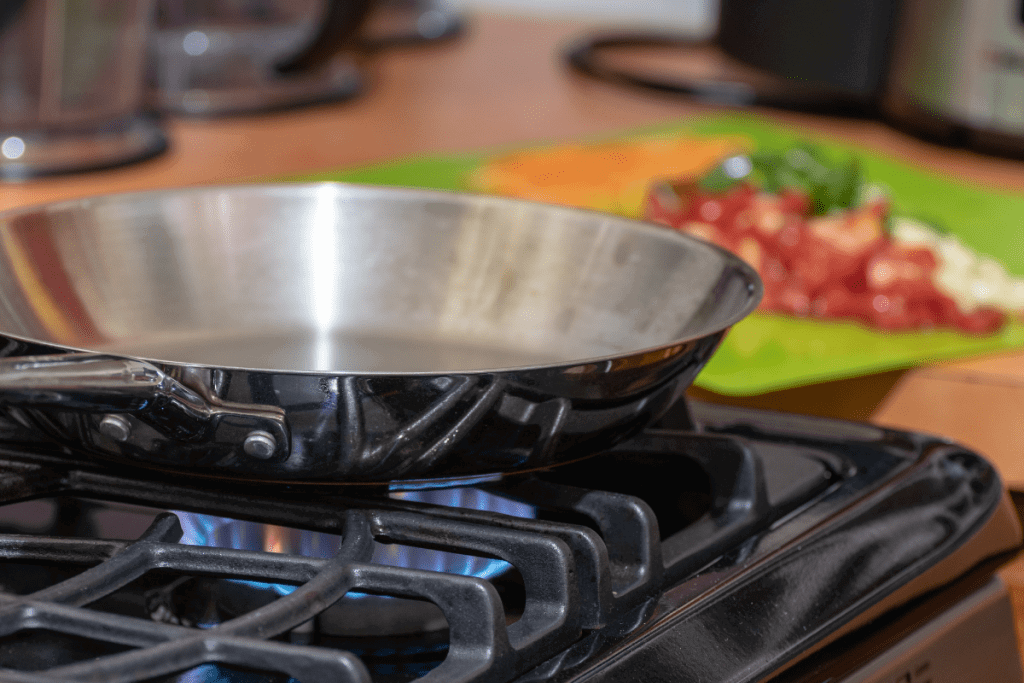
- Place your pan over medium heat and let it warm up for 3-5 minutes.
- Add enough high heat oil to create a thin layer over the entire pan. Let that heat until it begins to shimmer.
- Gently lay the item in the pan away from you to avoid hot oil splashing towards you.
- Now wait, let the oil and the pan work their magic. After a minute or two, gently nudge or try to lift the food. If it doesn’t want to budge, give it some more time.
- Once it has released itself from the pan and is GBD (golden, brown, and delicious), you can give it a flip.
- Depending on what your cooking and how thick it is, now is the time to go into a hot oven. This is perfect because it will relieve your desire to keep flipping, poking, and prodding.
- Once again the item will release itself from the pan when it’s ready, and you can continue cooking to the desired doneness you’re looking for.
Following those steps are a great place to start and can be used for a wide range of meals. Practice is going to be your best friend while you learn, but there are a few other helpful hints to set you on the right path.
Temperature control and patience
When it comes to stainless steel, temperature control and patience are everything. It may be tempting to crank your burner as high as it will go, but this is the fast track to burnt ingredients and scorched pans.
Stick to medium heat for most applications and always preheat your pan, then preheat your oil, and finally in goes whatever you’re cooking. Three easy steps that you should follow every time.
Dry your food for a better sear
If you’re going for a good sear, pat the item dry with a towel before adding it to your hot oil. A lot of moisture will more drastically drop the temperature of the oil and pan. Also, all of that moisture needs to be cooked away before any browning can happen, leading to steaming rather than frying.
Don’t add really cold food to your hot pan
So you’ve just taken the time and restraint to let your pan and oil properly preheat. Now you add cold, or heaven forbid, frozen food to your pan. All your preheating and patience immediately go right out the window.
Letting ingredients sit out at room temperature for 30 minutes or an hour can go a long way. You’ll be able to get better color on your food, and meat in particular, will cook much more evenly throughout.
Don’t skimp on the oil
Especially when you’re just getting started, a little more oil in the pan is a great insurance policy against food sticking. Then as you get more comfortable with the cookware, experiment with using a little bit less each time.
A good set of stainless steel cookware can do it all; fry, bake, saute, simmer, stew, and anything else you can think of. But to the uninitiated, there can be some apprehension or nervousness in bringing it into your home.
Sure there is a bit of a learning curve to get through. But, through all of the burns, discoloration, and scorches that you may encounter, stainless steel can always be brought back to life, ready to go another round.
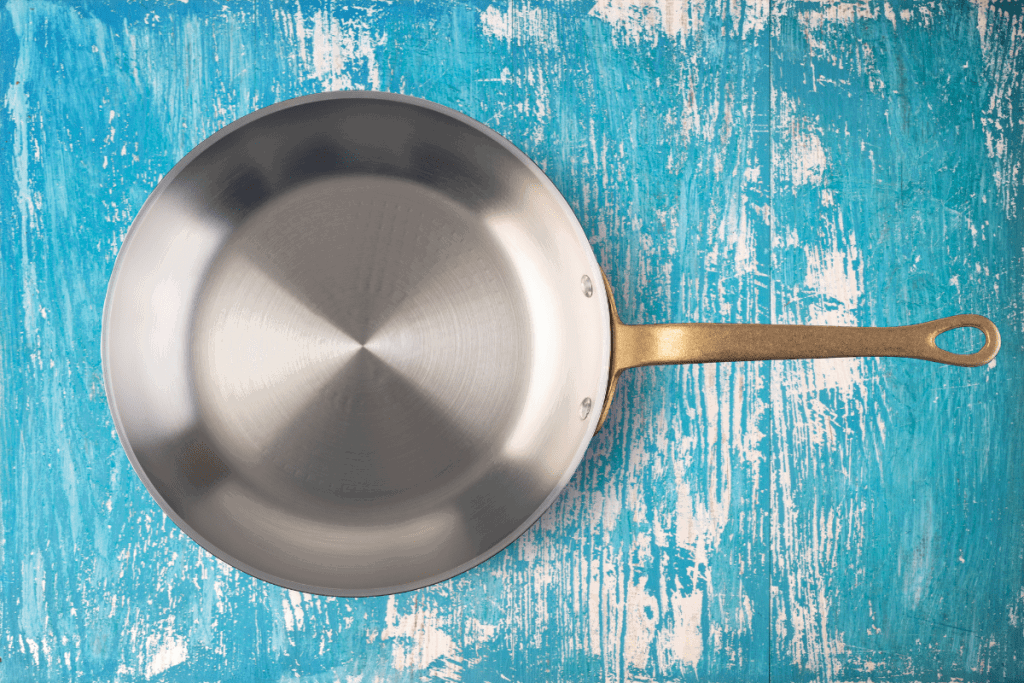
I think that a good stainless steel saute pan deserves a place in every well-used kitchen. If you’re on the fence deciding what cookware is best suited for you, we have a guide to the best cookware materials to make things a little easier.